
Kids Activities
|December 21, 2017
Wreath Ideas
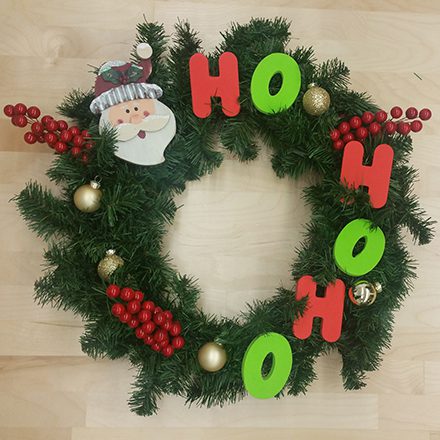
I love this time of year when the weather finally starts to get really chilly and my daughter is eagerly looking for indoor activities. This year we took on the task of making our own wreath for our front door, something I’ve been wanting to do but could never find the time! We used some time-saving tips (see also sanity-saving) to make it a fun group effort for both of us. Plus, I found fun ways to use some of our bath products, too.
Step 1: Materials

What You Need:
- Pre-made wreath (you can make your own with garland too, but we found this to be a good time-saver)
- Wired ribbon (optional)
- Munchkin Learn™ Letters and Numbers
- Hot glue gun or craft glue
- Decorations of your choice (ornaments, flowers, etc.)
Place all of your items on a sturdy surface that can get a little bit messy.
Parent tip: Place small decorations and items into bowls to keep them organized and easy for little hands to find.
Step 2: Plan Your Design

Begin by placing the largest items on the wreath first. Then, fill in spaces with smaller items. You can choose to make your wreath as full or simple as you like!
Step 3: Start Gluing

Start by gluing on the largest pieces you laid out first. Then, add the smaller decorations and pieces.
*If you’re working with really small children and using a glue gun, make sure to do the gluing for them or use craft glue as a safer alternative.
Step 4: Let Dry & Display

Allow your custom wreath to dry then hang it up for display!
If you’re looking for more family activities, learn how to make Pom Pom Ornaments here or download our Holiday Coloring Pages here.