How to Change a Diaper
For first-time parents who have never changed a diaper before, the anticipation of a first diaper change can be one of the most daunting and stressful parts of having a newborn. If this is you, take a deep breath and follow our simple instructions below. Once you’ve gotten a few diaper changes under your belt, you’ll be a pro and will soon be showing other first-time parents how it’s done!
Create the Proper Set Up
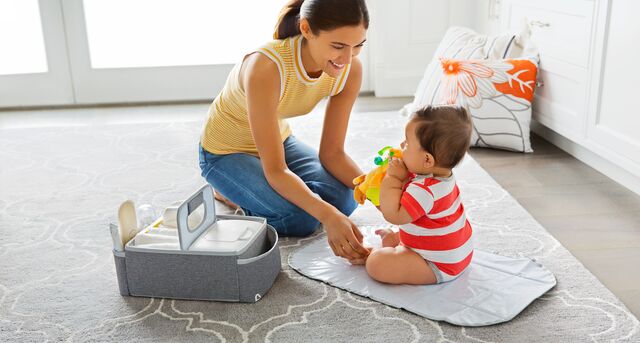
Before getting into the step-by-step instructions for how to change a diaper, we want to ensure you set yourself up for success. Below are tips for creating a set up that’s comfortable for you and your baby and recommendations for essential items you’ll want to have on hand.
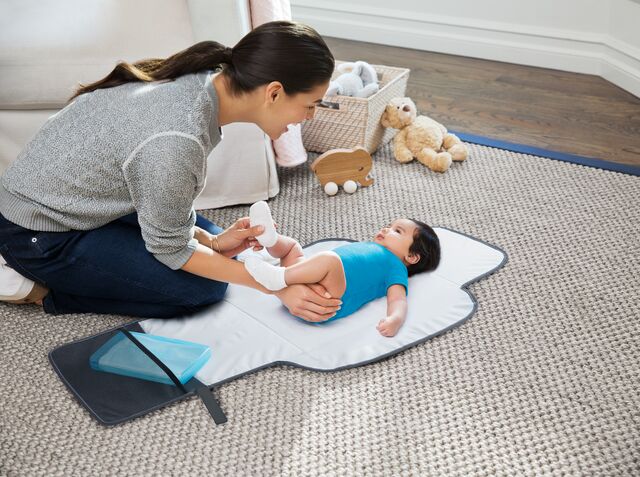
- Have a designated area for changing your baby’s diaper that’s both safe and clean. A changing table – or a changing pad that’s safely placed on the floor, a bed or another safe surface – are the best options.
- A good supply of diapers – prepare to be changing the diaper of your newborn approximately 10 times a day! Stock up ahead of time so you don’t run out in the middle of a diaper change.
- A gentle cleaner for cleaning the diaper area. Baby wipes are good but, since a newborn’s skin is sensitive, use ones that are pre-moistened with water only (rather than ones that contain alcohol) for the first couple of months to avoid irritation.
- Keep diaper cream or ointment on hand in the event it’s needed.
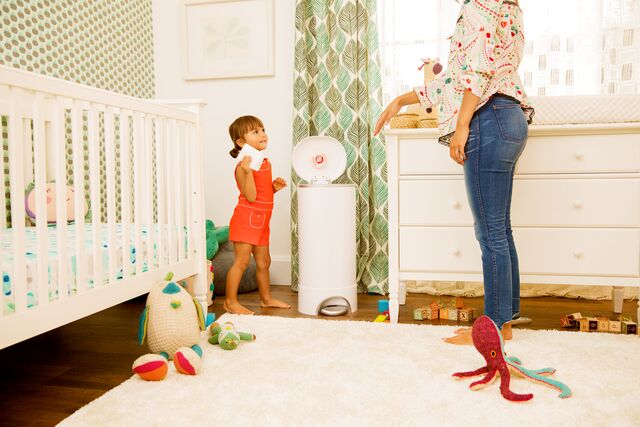
- A diaper pail right next to your changing area will give you a place to immediately place dirty diapers, keeping them separate from your kitchen garbage and minimizing odors.
- Keep a couple changes of clothes for your baby in the changing area in the (likely) event that your baby’s outfit gets soiled from a leakage or blowout now and then.
- A nursery organizer for keeping all of your diapering supplies neatly organized and easily accessible.
How to Change a Diaper
Follow these steps and you’ll be an expert at diaper changing in no time!
- Wash your hands and make sure you have everything you need within arm’s reach.
- Place your baby on his or her back and unfasten the diaper tabs.
- To raise your child’s bottom off the diaper, gently grasp his or her ankles and lift. If there’s a large amount of poop use the upper half of the diaper to gently sweep it toward the lower half of the diaper.
- Slide the diaper away from the baby and place it nearby, but where the baby can’t reach it.
- Wipe the baby clean. For girls, always wipe from front to back to prevent infection. Thoroughly cleanse the area to minimize the chances of your baby getting a rash.
- Place any used disposable cleaning supplies on top of the soiled diaper.
- Slide a clean diaper under your baby’s bottom (make sure the tabs are on the side located under your child’s bottom).
- If using any ointments or creams, apply before closing the diaper.
- Close the new diaper by pulling the front up over his or her belly and pulling the tabs open and around to the fastening surface.
- Roll the used diaper and wrap the tabs all the way around it. Place the diaper in the diaper pail next to your changing area or a garbage bag.
- Finally, be sure to wash your and your baby’s hands. Then, clean the changing surface.
And you’re done! Once you’ve gone through the process a few times, you’ll be a confident and comfortable diaper changer!
Other Considerations
You’ll also want to be mindful about how tight you make the diaper. It should be tight enough to prevent leaking but, not so tight that it puts extra pressure on your baby’s stomach, which can cause your baby to spit up.
No matter how old your baby is, you’ll always want to keep one hand on him or her whenever you need to look away or reach for something. Extra safety is always good to prevent your baby from rolling off the changing area.