Christmas Crafts for Toddlers
11 min read
Published on 21 Oct 2026
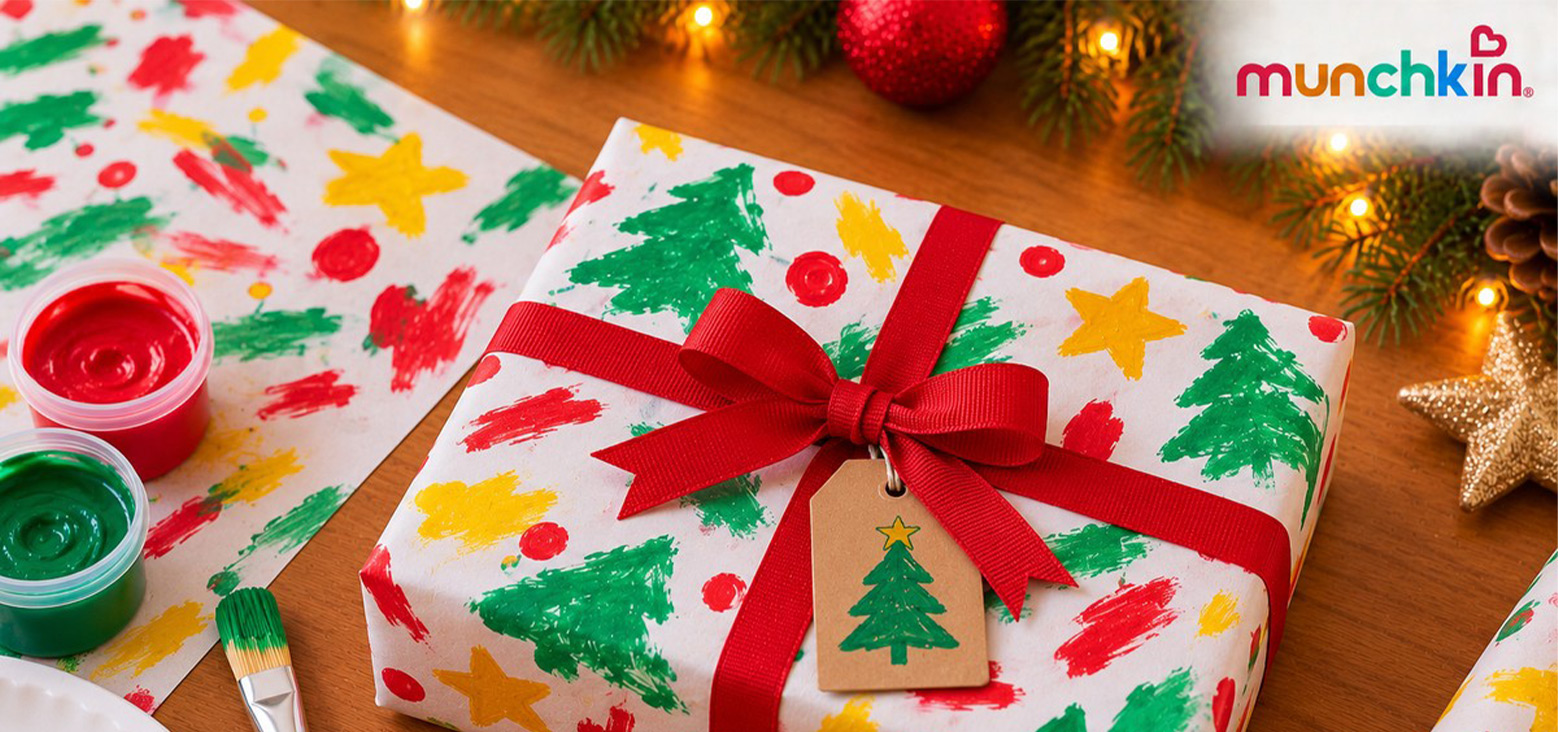
Easy Christmas crafts for kids include handprint trees, footprint Santas, and paper wreaths that toddlers can help make with adult preparation and supervision.
Your little one can add a painted mark or colorful scribble while you handle cutting and finishing.
What Christmas crafts are safe for toddlers?
Choose crafts with age-appropriate supplies, no small loose decorations, and adult preparation. Stay beside your toddler and follow each material’s age labels and instructions.
Look for the ACMI Approved Product (AP) seal, which identifies art materials evaluated for toxicological safety when used as intended. Non-toxic does not mean edible. For handprints and footprints, use paint labeled for skin contact.
- Skip small decorations: Paint details instead of adding beads, bells, sequins, googly eyes, or loose pom-poms.
- Prepare materials yourself: Keep scissors, hot glue, and hanging cords out of reach.
- Follow your child’s cues: Pause if they mouth supplies, pull away, or seem uncomfortable.
Supervise every activity and choose materials suitable for your child’s age and abilities.
8 easy Christmas crafts for kids and toddlers
These Christmas handprint crafts for kids and simple paper projects offer different ways for toddlers to participate. Active times are estimates and exclude drying.
1. Handprint Christmas tree
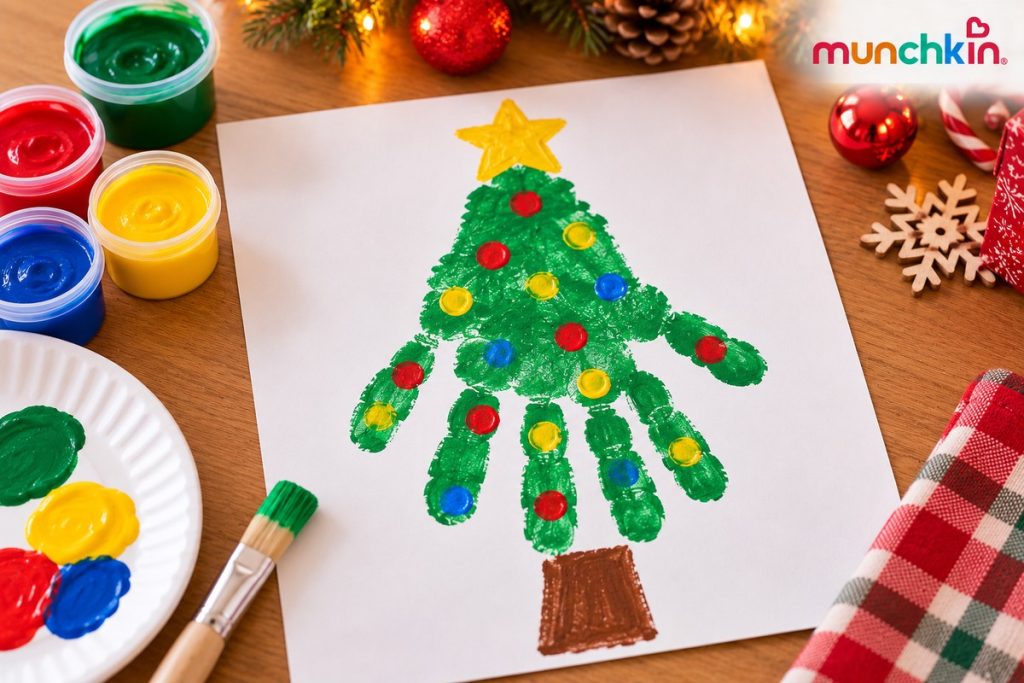
A green handprint becomes a Christmas tree, with painted dots for decorations and a trunk you add afterward.
Supplies: White cardstock, age-appropriate green finger paint labeled for hand contact, brown washable paint, optional decoration colors, and a chunky brush.
Active time: About 5–10 minutes.
Mess level: Moderate.
Adult prep: Secure the cardstock to a covered work surface and set out a small amount of paint.
Make it together:
- If your toddler agrees, apply a thin layer of green paint to their palm and fingers.
- Help them press onto the cardstock with fingers pointing down. Lift their hand and wash it.
- Once dry, add a brown trunk beneath the fingertips. Your toddler can brush colorful dots onto the tree.
Toddler tip: If your child prefers to keep their hands clean, draw a large tree outline for them to brush-paint instead.
2. Handprint reindeer
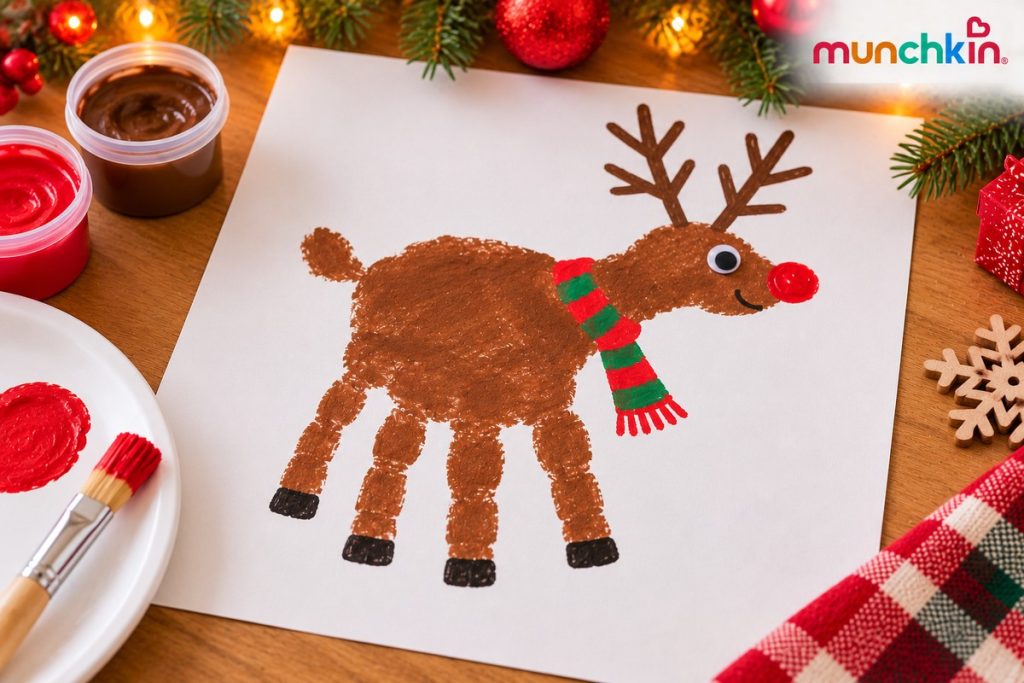
A brown handprint becomes a reindeer, with four fingers forming the legs and the thumb forming the head.
Supplies: White cardstock, brown finger paint labeled for your child’s age and hand contact, a marker for adult use, and suitable red paint.
Active time: About 5–10 minutes.
Mess level: Moderate.
Adult prep: Secure the cardstock with space around the print for antlers.
Make it together:
- If your toddler agrees, apply a thin layer of brown paint to their palm and fingers.
- Help them press onto the paper with fingers pointing down and the thumb extending sideways. Wash their hand afterward.
- Once dry, draw antlers above the thumb, an eye near its tip, and hooves beneath the fingers. Paint a red nose.
Toddler tip: Your child can help paint the nose with a chunky brush.
3. Footprint Santa
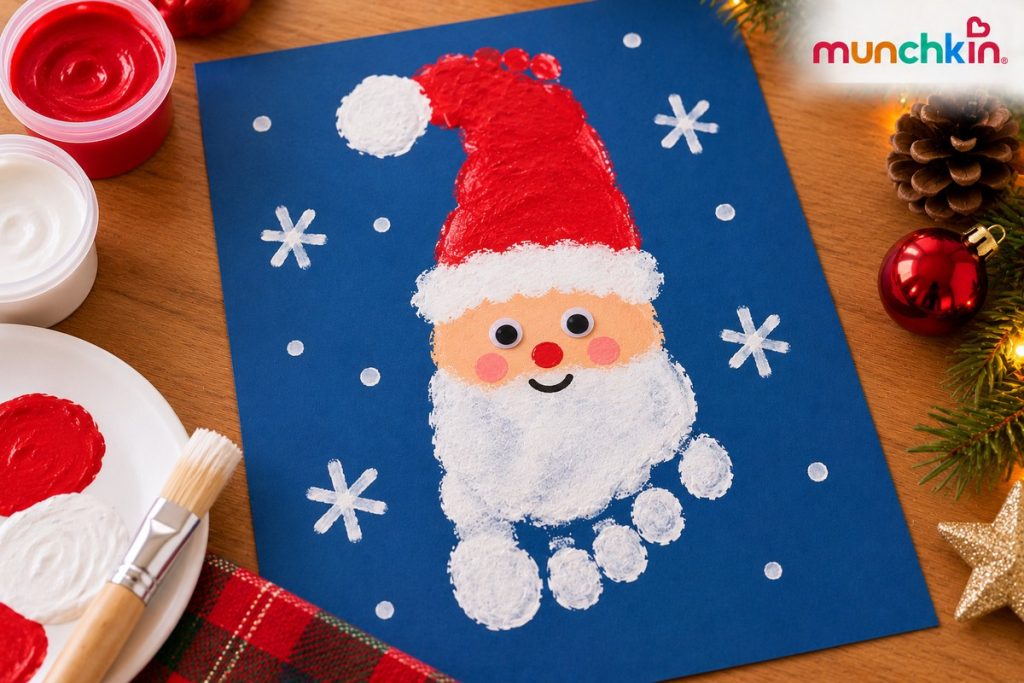
Position a footprint with the heel at the top for Santa’s hat and the toes at the bottom for his beard.
Supplies: Blue cardstock, age-appropriate red and white paint labeled for skin contact, suitable washable paint for Santa’s face, a chunky brush, and an adult-use marker.
Active time: About 5–10 minutes.
Mess level: Moderate.
Adult prep: Arrange the cardstock within reach of your seated, supported child, with washing supplies ready.
Make it together:
- If your child agrees, apply red paint to their heel and white paint to their sole and toes.
- Press their foot gently onto the cardstock. Wash and dry it before they stand or walk.
- Once dry, position the heel at the top. Paint a face beneath the red hat, then draw eyes and a nose.
Toddler tip: Skip the print if your child pulls away. They can brush-paint a paper Santa hat instead.
4. Paper-plate wreath
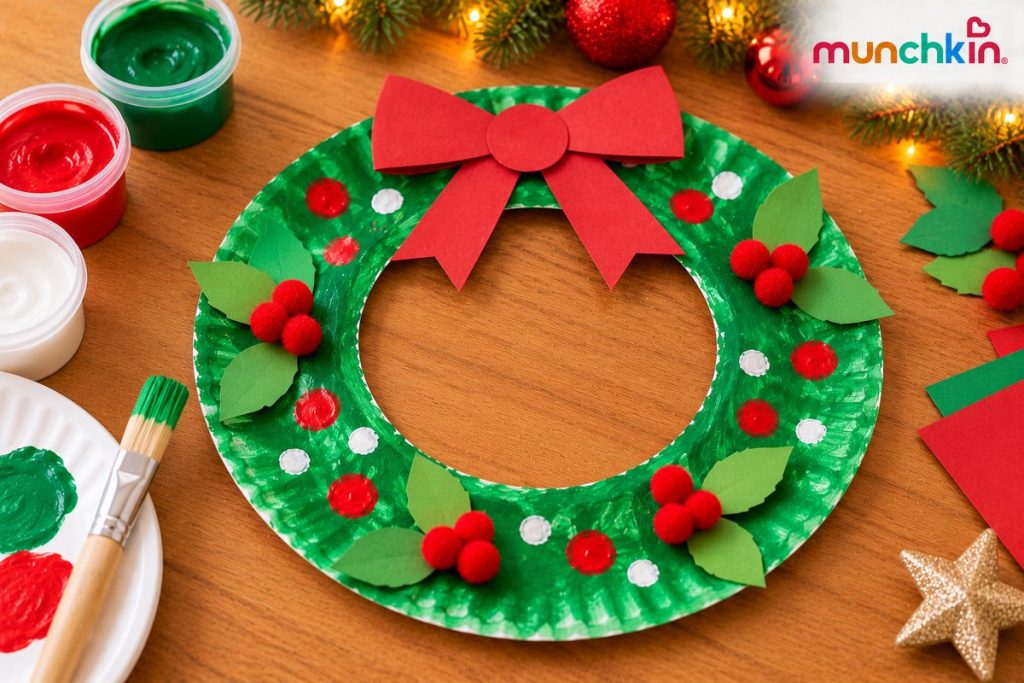
A paper-plate ring becomes a Christmas wreath your toddler can decorate with green paint or broad paper leaves.
Supplies: A plain paper plate, age-appropriate washable green paint, optional red paint, a chunky brush, and optional broad paper leaves and suitable non-toxic glue.
Active time: About 10–15 minutes.
Mess level: Low to moderate.
Adult prep: Cut out the plate’s center to leave a broad ring. Prepare optional leaves and put scissors away.
Make it together:
- Let your toddler paint the ring green.
- Once dry, apply glue yourself if using leaves. Your toddler can press them into place.
- Add a painted red bow if wanted, then let the wreath dry before displaying it.
Toddler tip: Skip paper leaves for a simpler version. Pause if your child mouths the plate, paint, or supplies.
5. Painted paper snowman
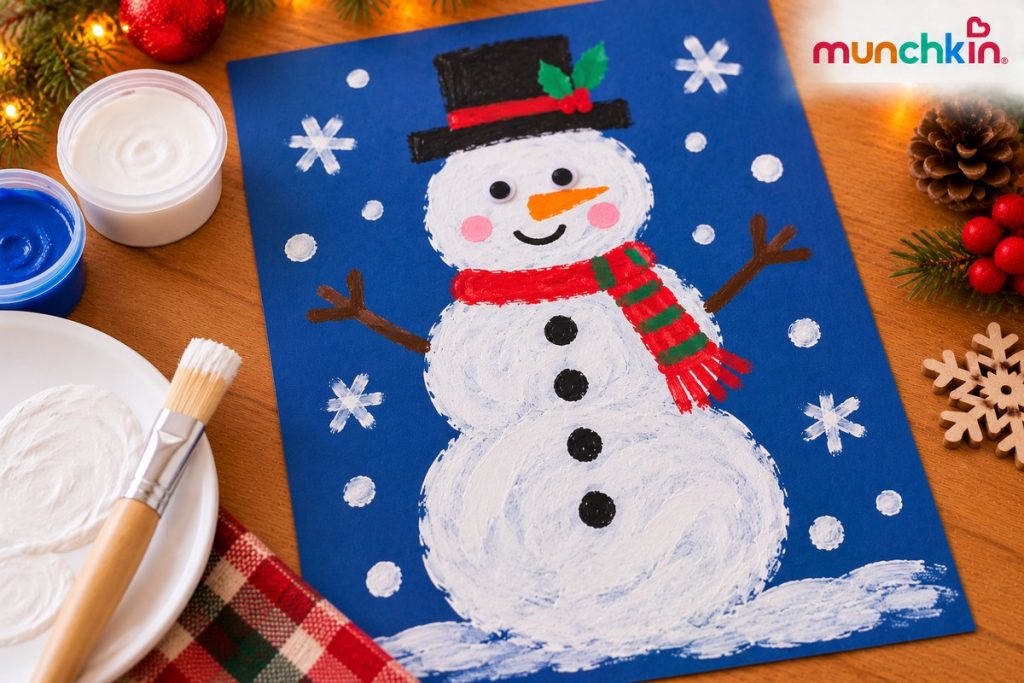
A large snowman outline gives your toddler room to brush on white paint, with a face and scarf you add afterward.
Supplies: Blue cardstock, age-appropriate washable white paint, a chunky brush, and markers for adult use.
Active time: About 5–10 minutes.
Mess level: Low to moderate.
Adult prep: Draw three large, connected circles on the cardstock to form the snowman.
Make it together:
- Offer a small amount of white paint for your toddler to brush across the circles.
- Leave the picture flat to dry. Marks outside the outline can become snow.
- Draw eyes, a carrot-shaped nose, buttons, and a scarf.
Toddler tip: For a paint-free version, offer a white crayon labeled for your child’s age.
6. Painted-dot Christmas tree
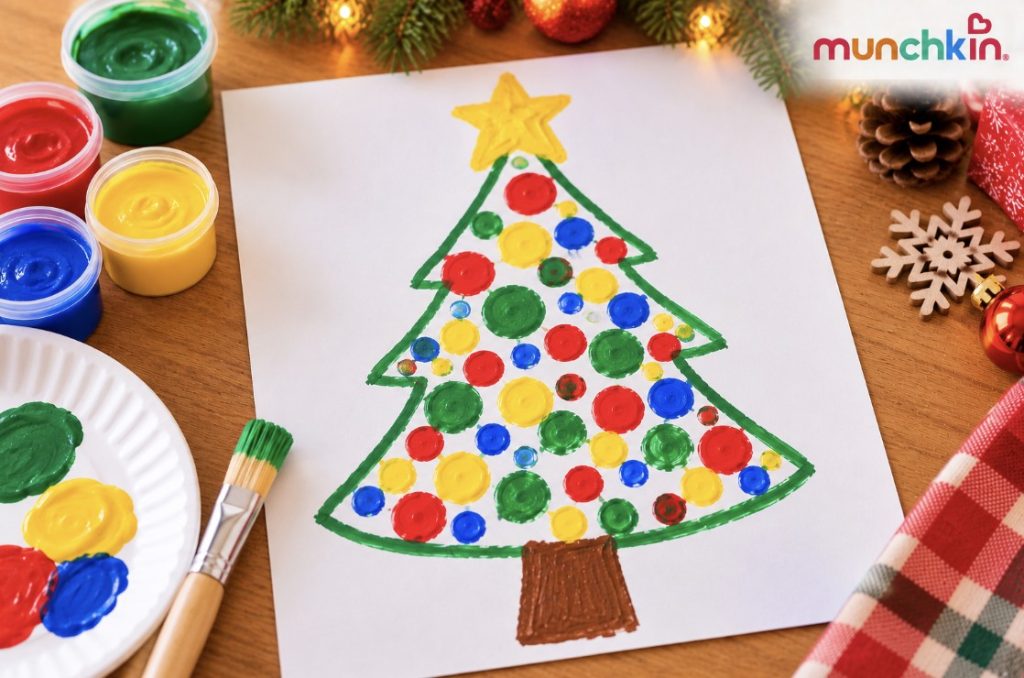
A paper Christmas tree becomes a colorful decoration as your toddler adds painted dots with a chunky brush.
Supplies: White cardstock, age-appropriate washable paints, a chunky brush, and a marker for adult use.
Active time: About 5–10 minutes.
Mess level: Low to moderate.
Adult prep: Draw a large tree outline on the cardstock and secure it to the covered surface.
Make it together:
- Offer a small amount of one paint color.
- Show your toddler how to dab the brush inside the tree outline. Let them choose where their marks go.
- Add another color if wanted, then leave the picture flat to dry.
Toddler tip: Dots, streaks, and swirls all work. Let your child decorate freely without needing to copy a finished example.
7. Crayon paper ornament
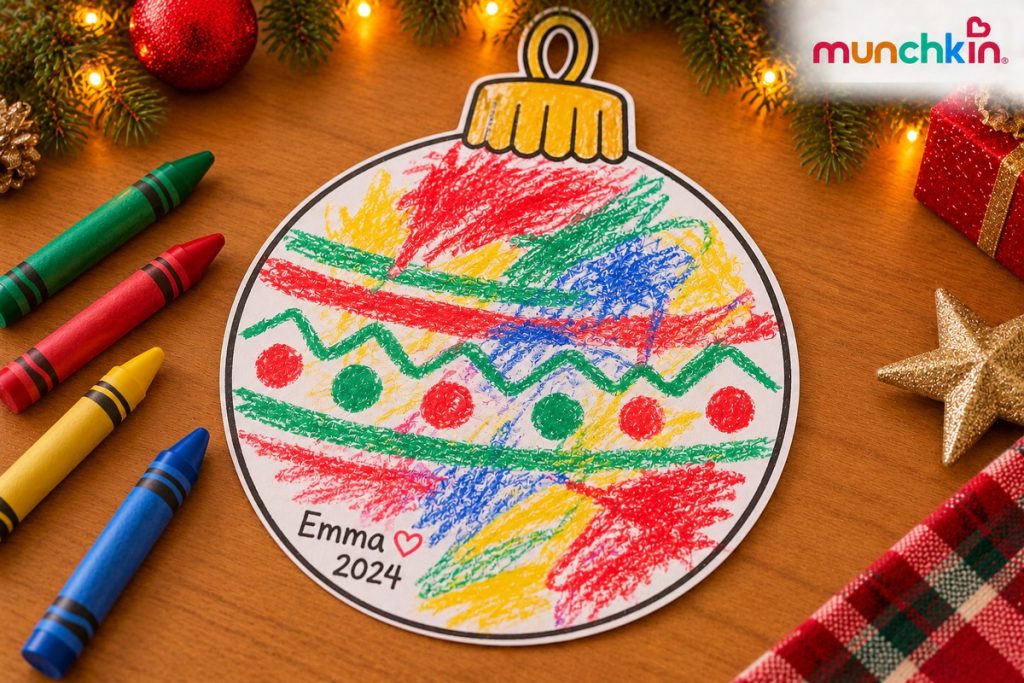
A large paper ornament gives your toddler space to scribble, creating a decoration you can date and keep.
Supplies: Cardstock, chunky crayons labeled for your child’s age, and a marker for adult use.
Active time: About 5–10 minutes.
Mess level: Low.
Adult prep: Draw a large ornament outline on a full sheet of cardstock.
Make it together:
- Offer two or three crayons and let your toddler scribble around the outline.
- Add their name and the year when they finish.
- Cut out the ornament yourself and display it out of reach. Adults manage any hanging loop.
Toddler tip: Leave the ornament on the full sheet if your child finds it easier to work on a larger surface.
8. Christmas wrapping-paper art
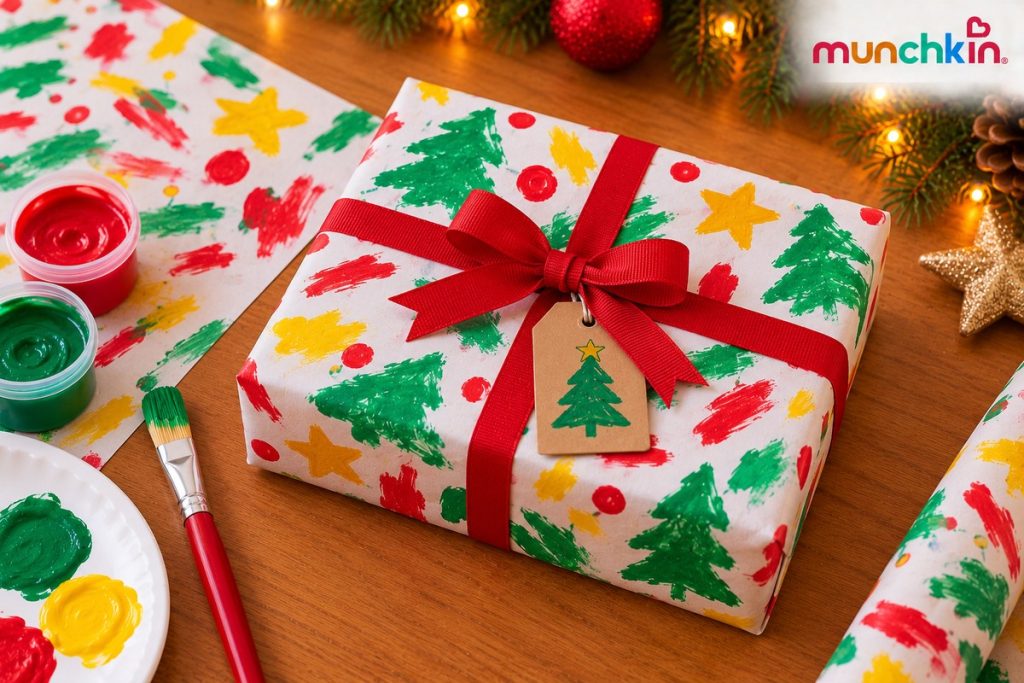
Plain paper becomes personal gift wrap when your toddler decorates it with colorful scribbles or painted marks.
Supplies: Plain paper, chunky age-appropriate crayons, or suitable washable paint and a chunky brush.
Active time: About 5–10 minutes.
Mess level: Low with crayons; moderate with paint.
Adult prep: Cut a sheet large enough to wrap a small gift and secure it to a covered work surface.
Make it together:
- Offer two or three colors for your toddler to scribble or brush-paint across the paper.
- Let any painted paper dry completely.
- Wrap the gift yourself, keeping scissors, tape, and ribbon out of reach.
Toddler tip: Decorate one manageable sheet at a time. Write your child’s name and the year on the reverse.
Christmas keepsakes and grandparent gifts
Turn finished artwork into a dated paper ornament, folded card, or framed picture. Add your child’s name, age, and the year once any paint has dried.
An adult can mount the handprint tree on cardstock, fold the reindeer picture into a card, or frame the footprint Santa. Let your toddler choose which picture to give.
Use paper rather than raw-flour dough for toddler keepsakes. The CDC advises against letting children play with dough made from raw flour, including craft dough. Adults should manage frames and hanging loops.
How to set up toddler crafts with less mess
Prepare shapes first and cover the work surface before your toddler joins you.
- Protect clothing: Use a properly fitting smock or bib according to its instructions.
- Cover the surface: Choose a wipe-clean covering. Keep any floor mat flat and clear of walking routes.
- Limit supplies: Start with one brush and small amounts of paint.
- Plan cleanup: Keep a damp cloth nearby for spills, then wash your child’s hands with soap and water.
Move wet artwork out of reach and put supplies away before starting another activity.
Frequently asked questions
How can siblings of different ages craft together?
Choose one theme with separate tasks. Your toddler can paint while an older sibling draws patterns or writes a message. Keep older children’s small embellishments in a separate workspace beyond your toddler’s reach.
How can you organize Christmas crafts for a daycare group?
Prepare individual supply sets and offer one project at a time. Start with crayon activities, then help children individually with prints. Follow your setting’s supervision requirements, material policies, and cleanup procedures.
References
- Art and Creative Materials Institute, Classroom Art Materials Safety - https://www.acmiart.org/classroom-art-materials-safety
- National Capital Poison Center, Safe Use of Art Products - https://www.poison.org/articles/safe-use-of-art-products
- Centers for Disease Control and Prevention, Raw Flour and Dough - https://www.cdc.gov/food-safety/foods/no-raw-dough.html
Munchkin